Implementing Intercom Access Control Systems: A Guide for Property Managers
For property managers, security and efficiency are always top priorities. Outdated key systems and basic buzzers often fail to meet modern expectations, leaving gaps in safety and convenience. A video intercom system provides a smarter solution — combining residential access control with advanced communication features. But where do you begin when considering one for your property? This guide walks through the process step by step.
Step 1: Assess Your Property’s Needs
Every property is unique. Start with a clear evaluation:
- How many entry points need secure access?
- Do you manage a single building or multiple communities?
- What challenges cause the most frustration — package theft, unauthorized visitors, or time-consuming key management?
This assessment shapes the type of intercom access control system that will work best for your property.
Step 2: Understand How the Technology Works
Today’s intercoms do much more than allow residents to “buzz in” a guest. Key capabilities include:
- Video verification: Residents can visually confirm visitors before granting access.
- Mobile integration: Entry calls and requests go straight to smartphones, even when residents aren’t home.
- Centralized management: Property staff can update permissions and review access logs from a single dashboard.
Understanding these features ensures you can communicate the benefits to residents and staff.
Step 3: Plan for Integration
Think about how the new system will fit into your existing setup:
- Will entrance panels need to connect with gates, garages, or secondary doors?
- Do you need IP connectivity, or is a standalone option sufficient?
- Can the system integrate with your current property management tools to simplify tenant onboarding?
Careful planning helps avoid surprises during installation.
Step 4: Coordinate Installation
Work closely with your technology partner to map out installation with minimal disruption to residents. This may include:
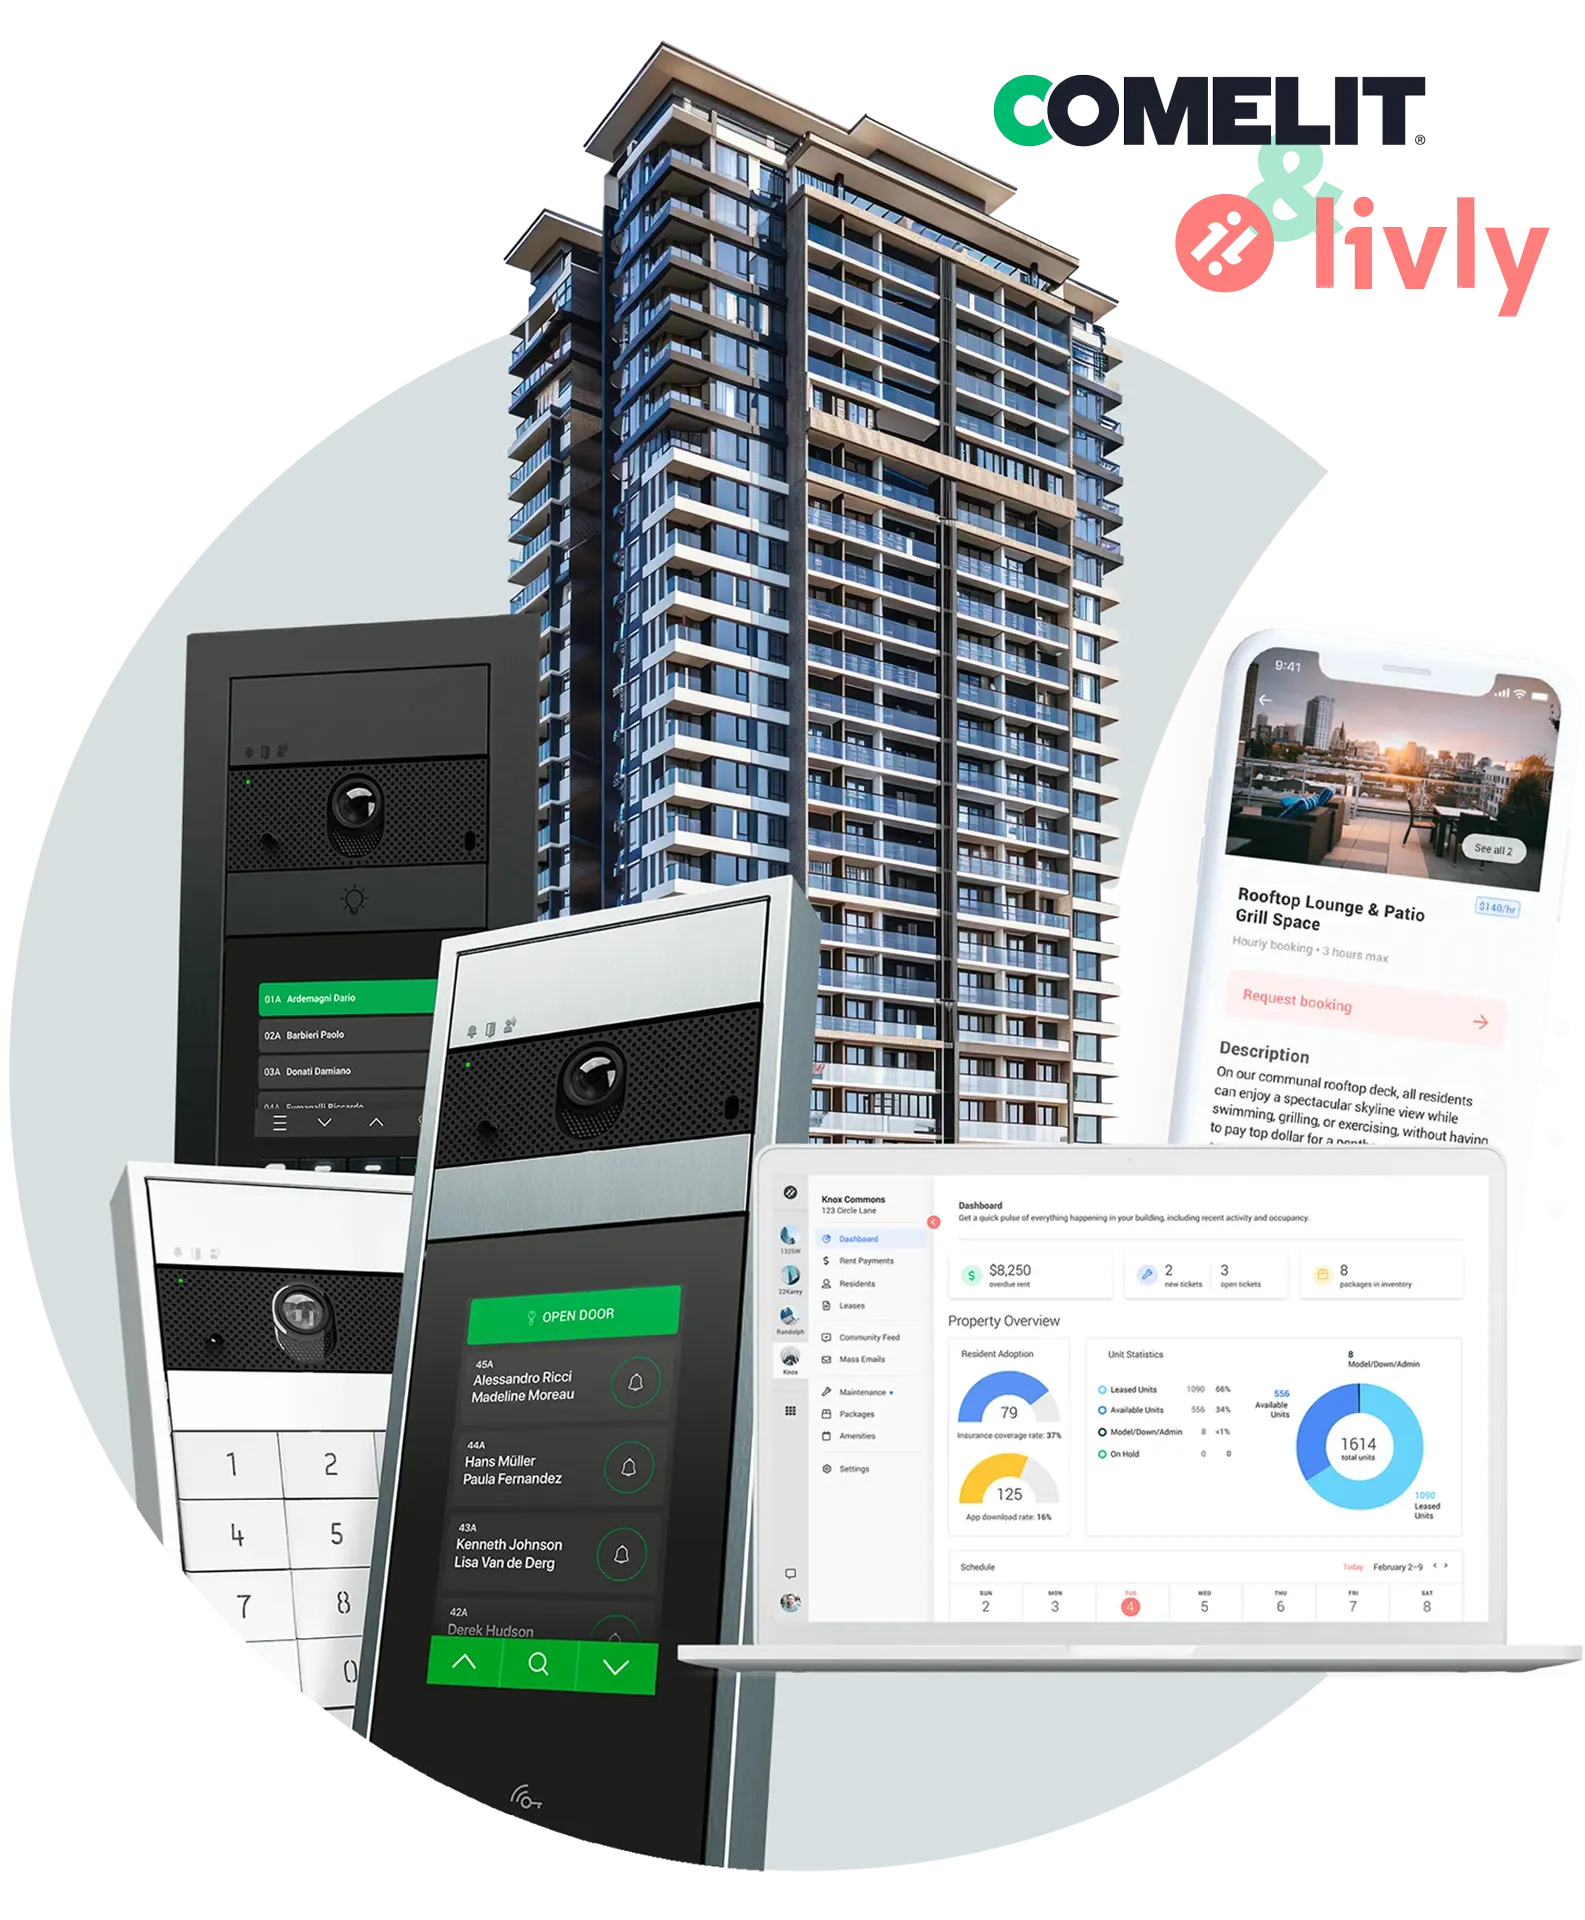
- Mounting entrance panels at primary and secondary access points.
- Setting up internal monitors or activating app-based access for residents.
- Testing the system thoroughly before going live.
Pro Tip: Work with Certified Installers
Installation quality matters as much as the technology itself. Certified professionals ensure proper wiring, integration, and resident onboarding — saving you time and preventing issues later.
Ask us about certified installers in your region — our Meet the Team page can connect you with local experts who understand your property’s needs.
Step 5: Train Residents and Staff
After installation, adoption is key. Provide residents with simple, clear instructions on:
- Using the video intercom system through their monitor or smartphone.
- Granting access to visitors and delivery drivers.
- Who to contact for technical support.
At the same time, ensure your staff is comfortable managing permissions, reviewing logs, and troubleshooting common questions.
Step 6: Monitor and Optimize
Once the system is live, continue to track performance:
- Are package theft and unauthorized entries decreasing?
- Is staff saving time with easier credential management?
- Are residents consistently using mobile features?
Regular reviews allow you to adjust settings and maximize long-term value.
Conclusion
A video intercom system is more than just an upgrade — it’s an essential piece of modern residential access control. By following a clear process, property managers can implement a system that enhances security, simplifies operations, and builds resident trust. With the right partner and certified installers, your property can transition smoothly to a smarter, safer future.
FAQ
1. What is the first step in implementing an intercom access control system?
The first step is assessing your property’s specific needs. This includes identifying how many entry points require access control, the type of property you manage, and any existing security challenges such as unauthorized entry or inefficient key management. This helps determine the most suitable system setup.
2. How do modern intercom systems improve access control?
Modern intercom systems go beyond basic communication by offering video verification, mobile app integration, and centralized access management. These features allow property managers and residents to verify visitors visually, grant remote access, and manage permissions more efficiently.
3. Can intercom systems be integrated with other security systems?
Yes. Intercom systems can be integrated with CCTV, door access control, and building management systems. This integration allows property managers to monitor entrances, verify visitors, and manage access through a single platform, improving both security and convenience.
4. What should be considered before installing an intercom access control system?
Before installation, it’s important to evaluate network infrastructure, compatibility with existing systems, and entry point requirements. Planning for integration with gates, doors, or elevators also ensures a smoother installation process with fewer disruptions.
5. Why is training important after installation?
Training ensures both staff and residents understand how to use the system effectively. This includes learning how to grant visitor access, use mobile features, and manage system settings. Proper training improves adoption and maximizes the system’s security benefits.

GET IN TOUCH
Transform your building today.